 
Enhancing Drupal's built-in functionality with new modules is one of the features that attracted a lot of developers to the platform and made it extremely popular. This tutorial will demonstrate how to create a Drupal module, using techniques recommended by Drupal gurus. Before getting our hands dirty, let's take a look at what are we going to learn. PrerequisitesIn order to fully understand the information presented in this tutorial, you need to have the following knowledge:
Drupal HooksThe Drupal codebase is modular and consists of two parts:
The core provides all the basic Drupal functionalities, and the modules add more features to the base installation. Interaction between modules and the core is done via "hooks". According to Drupal's documentation:
So, the hook is a function with a special name that is called by the Drupal system in order to allow modules to include their functionality to the core. The file containing these functions also has a special name which allows the core to find all the installed modules. The Drupal API provides the developer with a large number of hooks with which to alter almost the whole functionality of the core. For a Drupal developer, the sky is the limit for creating a site based on this powerful CMS.
What We're Building TodayWe need a realistic goal for implementing our module, and I think Facebook integration is the perfect idea. We will allow the user to "like" our articles by adding a Facebook 'Like' button to each of them. The second task of our module will be to show, in the sidebar, which articles were liked by the users. Obtaining the DataSince the main focus of this article is on how to implement a Drupal module, we will use the simplest method to retrieve the data from Facebook: Social Plugins. Social Plugins allow users to add Facebook elements to your site with only a single line of code, which can be taken out with copy/paste from the Facebook site. Our final product will have an output which should look like so:  Step 1: SetupDrupal searches for contributed modules in the First, let's choose a name for our module. Since its task will be to add Facebook functionality to our site, I assume "facebook" will be a proper name for it. We can start preparing the required directory structure for developing our module. Inside  Step 2: Inform Drupal about our ModuleDrupal presents the user with a list of core and contributed modules based on the content of Let's create the info file for our module. Create a file, named ; the module's user friendly name, will be displayed in the modules list name = Facebook Recent Activity ; the module's description, will be displayed in the second column in the modules list description = Retrieves and displays in a block the recent activity data from Facebook. ; the module's package, will be the name of the module's group on the modules list page package = Nettuts+ Drupal Module Tutorial ; the Drupal core package core = 7.x ; the files array indicating which files are part of the module files[] = facebook.module The code above reveals the required information to be placed in an info file. Notice that we've referenced the
CheckpointNow, let's check what we've done so far. Visit your website and select   Step 3: Add the Like ButtonWe need to add the code provided by Facebook to the Drupal code that processes the node. This can be done by implementing As we will find in a moment, implementing A Retrieving the Code from FacebookThe Facebook code that displays the 'Like' button on the pages can be obtained here. You can customize the look of the button using the controls on the page. Pressing the   Implement
|


| User | Role |
|---|---|
| Shannon | Admin |
| Bill | Employee, Manager |
| Jean | Employee |
| Terry | Employee |
Go ahead and create these users at http://localhost/user/user/create, assigning roles to each of them. We should end up with something like this on http://localhost/admin/user/user:


8. Creating Content... Finally!
And finally we can start creating content. We're well over halfway done at this point.
Create pages
First off, let's begin with the home page. Visit http://localhost/content/add to create a new Page.


Enter the page title and some sample content for the home page. Set up a menu item for this page. You may also enter some meta tag info if you'd like.


Leave the URL alias setting alone. We'll let Pathauto handle it, and we'll set that up shortly.


Save the page and create another for the About page.


If you now visit the main page, you'll notice that we've got a menu already going. These items come from the pages we just made and from the view we made for Links earlier.
Create some Links
Next, we'll create a few links. Visit the create content page again, but this time choose Link. Create a few links.


After we've created a few links, we can visit the view for Links. Visit http://localhost/links to see our links. Here's what I've got. Remember this is coming from the view we made earlier.


Contact form
Drupal's built-in Contact module is totally sufficient for SmartMarks. We'll just need to set it up. Visit http://localhost/admin/build/contact and click "Add Category" to begin.
Add a category for "General Enquiries", enter Shannon's email as the only recipient, and set "Selected" to yes. This will cause this category to be the default for the contact form. (You could setup multiple categories to handle contact submissions for areas such as Sales, Support, etc.)


You may now view your contact form at http://localhost/contact
Create some blog entries
Last of the content, we'll make a few sample blog entries. We could log out, and then log back in as each user individually, creating a blog entry under each. Or, since you're already logged in as superuser, you can create a few entries and change the author to each user.
Visit http://localhost/node/add/blog and create a sample entry.


Under the authoring info, enter shannon. This entry will become Shannon's first blog entry.


Repeat that to create a blog entry for the other users (bill, terry, jean). Then visit http://localhost/blog to see the user blogs.


9. Finishing touches
We still have a few things to tidy up before we're done. We need to setup pathauto to handle automatic URL aliases, finish our menu, check out each user account, and then we'll add a few blocks to demonstrate a little about blocks.
Menus
Let's start with menus. We've already created a few menu items beneath the Primary Links menu. We did this when we created the view for Links and when we created each static page.
Visit http://localhost/admin/build/menu. Here you'll see several menus available. Choose Primary Links.


Choose "Add item". We'll create an item for the Contact form.


Note that the path is relative to the site root. So don't enter "/contact"; just enter "contact".
Repeat the above to create another menu item for user blogs, using a path of "blog". Then visit the tab "List items" to view all the menu items within the Primary Links menu. Now we can reorder the items using the drag and drop handles on the left.


Make sure to save!!!
Now our primary links in the header should be complete and sorted.


Pathauto
Next up, we'll setup pathauto to handle our nice URLs. Visit http://localhost/admin/build/path.
Before we configure paths, let's remove any existing URL aliases. You can do this by visiting the tab "Delete Aliases", then just go ahead and choose all aliases and delete them.


Now we'll setup the automatic aliases under the tab "Automated alias settings".
Open up "Blog path settings" and check the box to have the system "Bulk generate aliases".


Now open up the "Node path settings." Here we'll set up a few rules to handle paths for different node types. Use the replacement patterns (this is where the Token module comes into play) to set up appropriate paths. Make sure your URL alias scheme will produce only unique URLs! And be sure to have it "Bulk generate aliases."


Then save. Then view "List" again. You should see new aliases made for all of our existing content.


A note about URL aliases: Don't forget to delete aliases if you change your URL scheme and regenerate aliases. Deleting and recreating aliases may seem a bit scary, but the more you do it, the more confident you'll become in your URL scheme.
Blocks
Shannon just informed us that she wants the site to highlight the company's recent office move. This is a good opportunity to go over blocks.
A block in Drupal is simply a 'chunk' of content, be it a list of nodes, some static HTML, a few images, or whatever. We'll set up a simple block to hold the notice about the office move.
Visit http://localhost/admin/build/block. Add a new block by using the tab "Add block".


After adding a block, you'll have to assign it to a region for display. Assign it to the left sidebar on http://localhost/admin/build/block, and don't forget to save!!!


You may also sort them with the drag handles, like menu items.


You should now see the new block displayed in the left sidebar after save.


Check user accounts
Now we're almost there. Just want to login as the users to make sure they've got the right permissions and that they can access the links to allow them to get stuff done.
Log out of the system and log back in as Shannon. Shannon is our administrator, so let's make sure she's able to create/edit all content. After logging in as Shannon, we should see a link to create content.

Go through and login as each user. Just take a look to make sure each one has the permissions and links available to get stuff done. If they don't, try going back to administer user permissions, and verify that they've been granted the correct permissions. Or also make sure you've correctly assigned roles.
Set the home page
We also need to tell Drupal to use our home page as the default home page. You can do this under http://localhost/admin/settings/site-information.
Before you change this data, though, we need to grab the node id of our home page. Visit our welcome page at http://localhost/welcome-smartmarks. Click or mouse-over the "Edit" tab; we just need the node's ID.


Our home page has a node id of 1, so we'll use that for the default home page. Visit http://localhost/admin/settings/site-information and enter some data. At the bottom, you'll see a field for the default home page. Enter "node/1". Note that we're using the node id becuase of pathauto. If we were to change the URL alias of the home page, then we won't have to change its node id, since it will remain the same. Drupal will automatically print out the correct URL alias.


10. Summary
This overview only scratches the surface of what Drupal can do. Hopefully I've given you a good overview of how to get started with the system in building this very simple CMS.
Themes
Drupal supports multiple themes, and each user can even chose their own theme.
Building a custom theme is out of the scope of this tutorial. But you can download and install some contributed themes. A good starting place is over at Theme Garden. Download and unpack themes into /webroot/sites/all/themes, then enable and configure them at http://localhost/admin/build/themes. Note that whenever you activate a new theme, you'll have to visit the blocks page to assign blocks to the theme's regions.
If you're ready to start building a theme, you might want to check out the Theme Guide.
Good luck!
Good luck in your Drupal ventures, and feel free to ask questions! Also check out http://drupal.org for more information and helpful articles.
Originally from Drupal.org aggregator https://ift.tt/FxwQ4yN
Originally from Drupal.org aggregator https://ift.tt/vOcakGX
Originally from Drupal.org aggregator https://ift.tt/wxiFU0M
Originally from Drupal.org aggregator https://ift.tt/30E6Lpe
10 Key Principles of User-Centered Design https://t.co/sMNmKtfqLr
— Xavier Bradley (@BAIDigital) Nov 30, 2022
Between November 2020 and October 2021, 5212 organizations worldwide experienced data breaches. (source: statista).
And the number is steadily increasing.
While every business that operates online faces some cyber threats, there are many ways to prevent data breaches or at least minimize their impact.
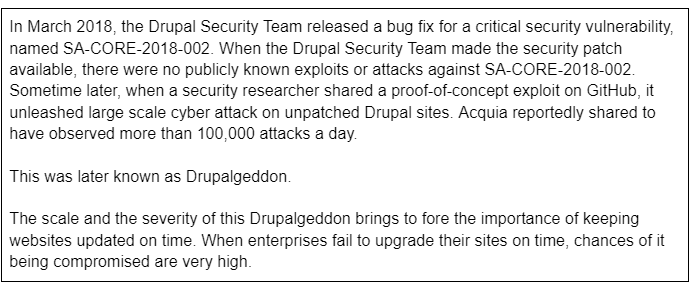
Delays before security updates are applied on site can result in compromised sites as seen in Drupalgeddon.
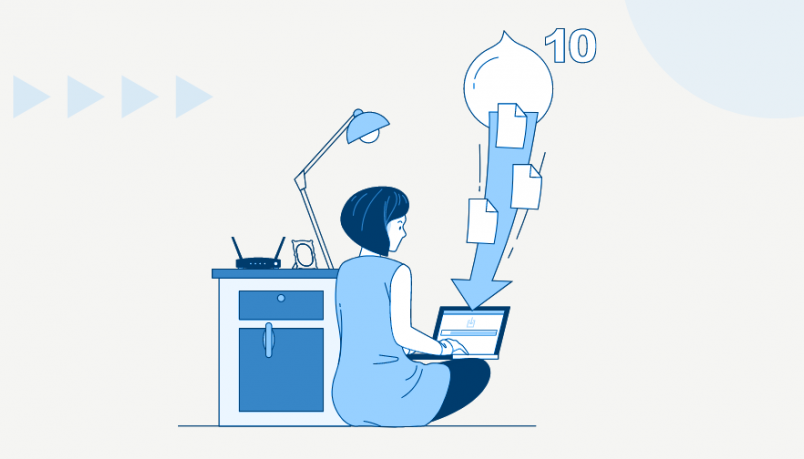
Manually updating a Drupal site can be an expensive, difficult, & time-consuming.
The goal of the Automatic Updates Initiative is to provide safe and secure automatic updates for Drupal sites. It aims to solve the problem of any security concerns while over ridding the troublesome manual update process of a Drupal site.
Explained: Drupal Automatic Updates
Drupal’s Automatic Updates focus on resolving some of the most difficult usability concerns in maintaining Drupal websites. It is listed as one of the Drupal Core Strategic Initiatives for Drupal 9.
It comprises of updates on production, development, and staging environments, with some integrations required in existing CI/CD processes.
Automatic Updates in Drupal offers some major benefits to its users such as a reduction in the total cost of ownership (TCO) for Drupal websites and also a decrease in the maintenance cost.
Presently, we get to see a stable release that comprises features such as public safety alerts and readiness checks which will be discussed below.
Importance of updating website
Here is the importance of updating a website. Take a look below:
- Helps in increasing brand exposure
If we update a website by changing the outdated information with newly updated content then it will lead to an increase in brand exposure. But if we do not take this responsibility of updating content then it can be an obstacle in increasing the brand exposure which is essentially important.
- Increases security
One of the major reasons for updating a website can be security concerns. For example, if a website is hacked then it can bring trouble for both the business and clients. But if we frequently update our website with the latest security features then such troubles of website hacking can be avoided.
- Provides mobile-friendly facility
By updating our website to a mobile-friendly website we enable our users to go through our website across various devices and platforms with ease and comfort. This leads to an increase in website traffic also resulting in a better company reputation.
Key Features of the Automatic Updates Module
Here’s a list of features in the Automatic Updates module.
- Update readiness checks
We might not be always capable of updating all websites. Therefore, in instances like such, the readiness checks, one of the key features of Automatic Updates helps in identifying if a website is ready for updating automatically after a new release is offered to the Drupal community.
For instance, websites that have un-run database updates, not having sufficient disk space for updating, or working on read-only file systems, won’t be able to get automatic updates. And if our website fails readiness checks and a Public service announcement (PSA) happens to be released, then it is essentially important to solve the readiness issue so that the website can be updated instantly.
- In-place updates
- After the PSA service provides a notification to a Drupal site owner of an available update, and also the readiness checks happen to confirm that the website is ready to be updated, the website administrator is then able to update through the Update form.
- Tarball-based installations are well supported by this particular module and it doesn’t happen to choose some of the requirements in order to secure updating, rollback, etc which will come under the core solution.
- This module doesn’t support contrib updates or composer-based site installations. And also, the work on composer integration has begun already and is in progress.
- Public service announcements (PSAs)
We get to see that infrequent announcements are done especially for critical security releases in regard to core and contrib modules. After a PSA is released, site owners need to review their websites so that they are updated well with the latest releases. Also, the website needs to be in a good position in order to quickly update if any fixes are given to the community.
Here is a quick video on the above-discussed features of automatic updates.
Conclusion
The Drupal community never fails to make an honest effort in building a community where its users can be benefited by making their software and websites safer and more user-friendly. The Automatic Updates initiative is a great example of it and by far it has made tremendous progress that cannot be unseen.
Originally from Drupal.org aggregator https://ift.tt/ABYXDrV
Originally from Drupal.org aggregator https://ift.tt/I4OW1Ax
Originally from Drupal.org aggregator https://ift.tt/mzKDriv
Author
Write something about yourself. No need to be fancy, just an overview.
Archives
April 2023
March 2023
February 2023
January 2023
December 2022
November 2022
October 2022
September 2022
August 2022
July 2022
June 2022
May 2022
April 2022
March 2022
February 2022
January 2022
December 2021
November 2021
October 2021
September 2021
August 2021
July 2021
June 2021
May 2021
April 2021
March 2021
February 2021
January 2021
December 2020
November 2020
October 2020
September 2020
August 2020
July 2020
June 2020
May 2020
April 2020
March 2020
February 2020
January 2020
December 2019
November 2019
October 2019
September 2019
August 2019
July 2019
June 2019
May 2019
April 2019
March 2019
February 2019
January 2019
December 2018
 RSS Feed
